 |
| Fill text with image. All elements created by Saving Stories | | |
|
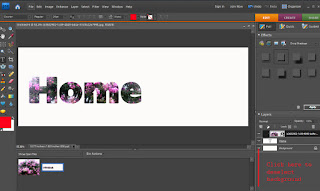
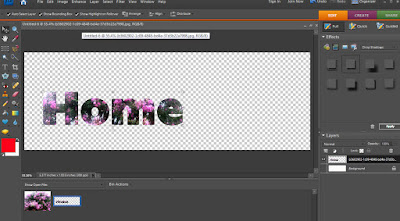
In the example above, the word "HOME" had been filled with an image. This is a very simple layering process that you can do quickly in Photoshop Elements.
1. Create a white background. File>New>Blank File.
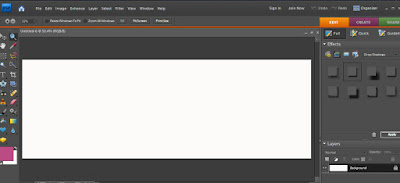 |
| Create background |
 |
| Text Tool |
|
|
2. Click the Text Tool and select a bold font. See the toolbar below.
3. Chose a large font size. I used 60 pt here. Type the word "HOME." Notice you now have two layers open, the background and the text.
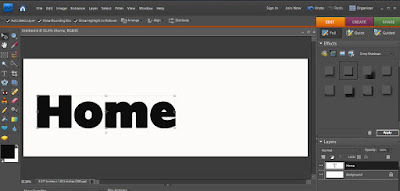 |
| Type "HOME" |
4. Choose a photo to fill the text. Open it.
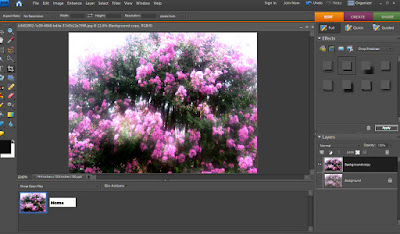 |
| Photo to fill text |
5. Click on the text to put it back onto the palette.
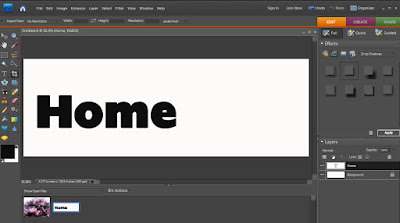 |
| Click on text in bottom tray |
6. Drag the photo from the tray below onto the text. Make sure the photo completely covers the text.
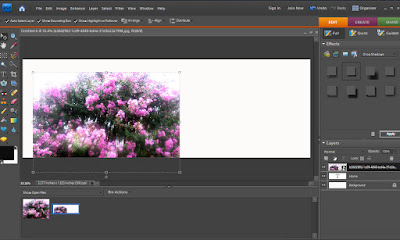 |
| Drag photo over text |
7. Choose "Layer" and then "Group with Previous" from the Menu bar.
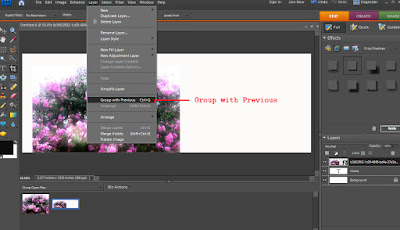 |
| Group with Previous |
8. Click on the "eye" in the layers palette to deselect the background layer.
 |
| Deselect background |
9. Select Layer>Merge Visible Layers from the Menu.
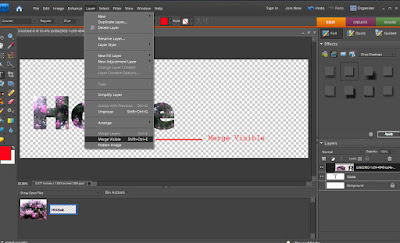 |
| Merge Visible Layers |
10. Save the text as a .PSD file. You are now ready to lay the text on any background. We will create a background next time.
 |
| PSD File |


0 comments:
Post a Comment